In this article I’m going to take you through my 6 week process of the making and what I have learned by making the Tommy 1928 game asset. This is aimed at anyone interested of becoming a 3D artist or is just curious about the process. Be ready for A LOT of photos. Without further ado, shall we?
. . .
Week 1&2 — Reference and Block-out
“The way you start determines how you will run the race”
Reference
For me this is maybe the most important phase. Proper reference gathering and research will determine the accuracy of the asset throughout the project and in all phases. Gather as much as you can. Software such as PureRef can help you sort your stuffs.
The reference board I made for the Thompson 1928
Block-out Model
Build a basic representation of your asset. Focus on big shapes. Don’t worry about the fine detail, this is to ensure the proportions of the model is right and gives the dudes at animation a good idea of what kind of animations they want to do early in the design phase, this will also help steer the creative direction and decisions behind the piece (remember this has to go into a game engine).
Blockout with more detail in Week2
Week 3 — High Poly yo!
After we got the go ahead from the block-out phase (or you are happy with the block-out) its time to add the nice bits a bobs, detail is the name of the game.
“Your edges are so smooth they make other look… not smooth”
Get some nice smoothness on the edges, this will ensure that the Normal map (we will get to this later, or just google it) will help us get some nice reflections going on our low poly when its in engine.
Micro or not?
I stay away from adding micro detail such as text or any type of decals in the high poly since its so easy to add it in when we are the in the texturing phase, Substance Painter is cool like that. Texturing tools of today makes it real easy to add in those details on the fly and also makes it easy to iterate on those details so we don’t have to go back and bake everything down again after we make changes
Workflow?
For this piece I let ZBrush do the lifting. Boolean and Dynamesh and then just soften those edges, decimate and then back to your preferred modeling software.
Week 4— Low Poly!
Here is where you start optimizing your mesh, taking the block-out mesh is a great place to start since the high poly was based on it.
Optimize!
This is the mesh that will go into the engine so we don’t want to end up with a 2 million poly mesh, that is what the high poly is for. I ended up with 21k polys for everything. Remember, if it wont be seen in animation and there is no way the player will ever be able to see it take it out. The asset does not have to function like a real gun. A lot of the bolt the player will never be able to see, delete the faces you don’t need, it will a save your tri count and make more space for when it comes to the UV side of things.
Low poly before some more optimization
Wireframe
Week 5— UVs
Figure out how you want to break up you texture space. I ended up doing the main body on a 2048x2048, drum magazine on a 1024x1024 and the sling and accessories on a 1024x512.
Mirror
If the geo on the one side will closely represent the other side, or it does not need custom decals, mirror it. It will save you A LOT of UV space. In my case I ended up mirroring one side of the stock, sides of grips and also some other pieces here and there
UV islands for the Main Body
Week 6 — Texturing
Finally! The fun starts! Here is where that reference comes back into play again.
Baking
Before we go into texturing we will need a few maps that will help us “sell” the end product. Normal map for faking high end details on the low poly. Ambient Occlusion or AO for some nice contact shadows and a colour map that will help us with masking when we get to the texturing phase.
For this project I baked in Marmoset Toolbag 3. This was a first time for me but I was really pleased. The visual cage offset, paint skew and other neat features comes in really handy. Highly recommend giving it a try. Its bakes insanely fast and makes the iteration process much less of a headache. Trust me, its good!
I baked my normals, AO and colour map in Toolbag, the rest that I needed I did in Substance Painter.
Texturing
Before you start make sure you have enough reference of the materials you want to achieve, we don’t want to go “Bob Crazy” with the textures on the gun, we want the textures to feel “authentic” to the real deal. Reference is KEY!
"Being subtle is recipe for success"
I worked in the Metalness & Roughness workflow. I start of by defining the base materials, metals as metals and non metals and non metals. From there I build it up. Add some subtle colour changes (micro and macro details). Materials are very seldom just one colour. Get some of those subtle colour changes in there, it will help sell the texture at the end.
When doing wear and tear keep an eye on reference, you don’t want your asset to look like it was nuked, unless if that is what you are going for. When you are making use of generators, don’t just keep it for what it is, they are great for giving us a strong base to work from but do some manual work on them otherwise it will come off as procedural in the end.
"Learning how to texture properly was a big part of this project for me since in previous projects, my textures well… sucked. The above helped me to achieve the look I was going for."
“Cartoony” you say?
Ethan Hiley pointed out to me that the wood of the gun especially the stock, looked really cartoony in comparison to the rest of the gun. He was so right! So I redid it and “gosh!” am I happy I did. Don’t be afraid to get feedback on your work, worst that can happen is you can learn a thing or two! Not so bad is it?
YEP! I know.
Rendering those Portfolio Shots
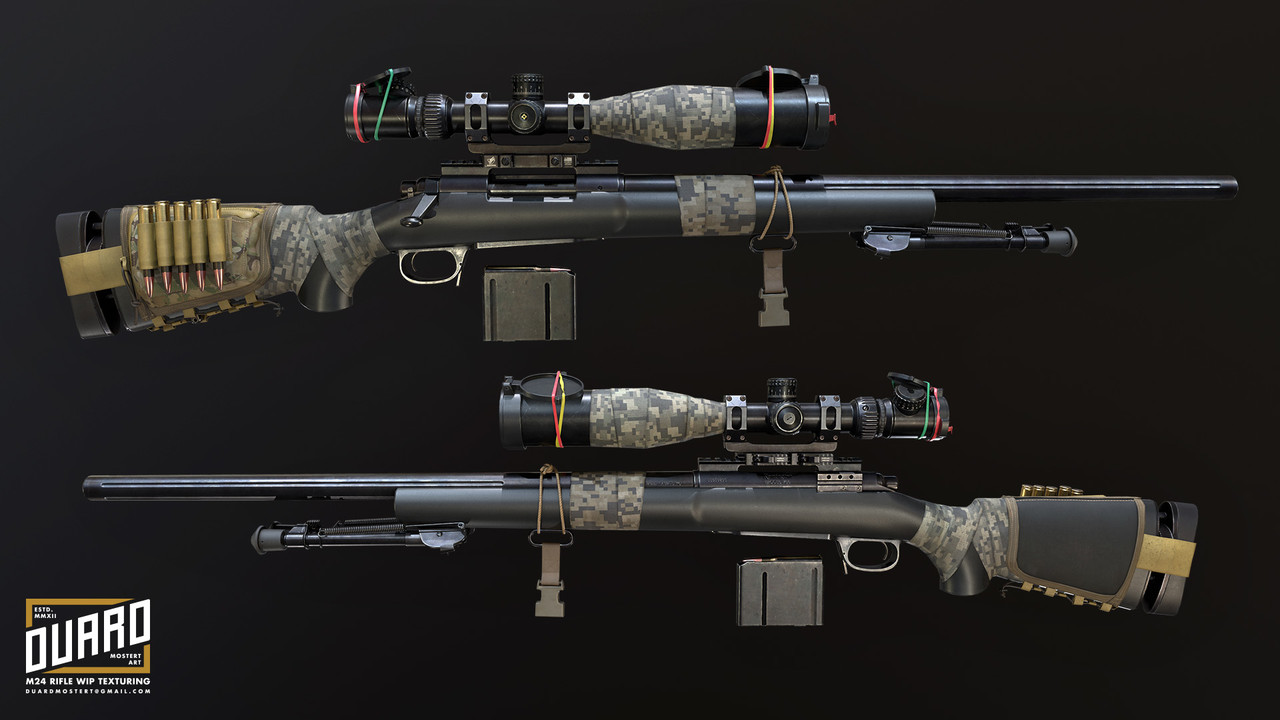
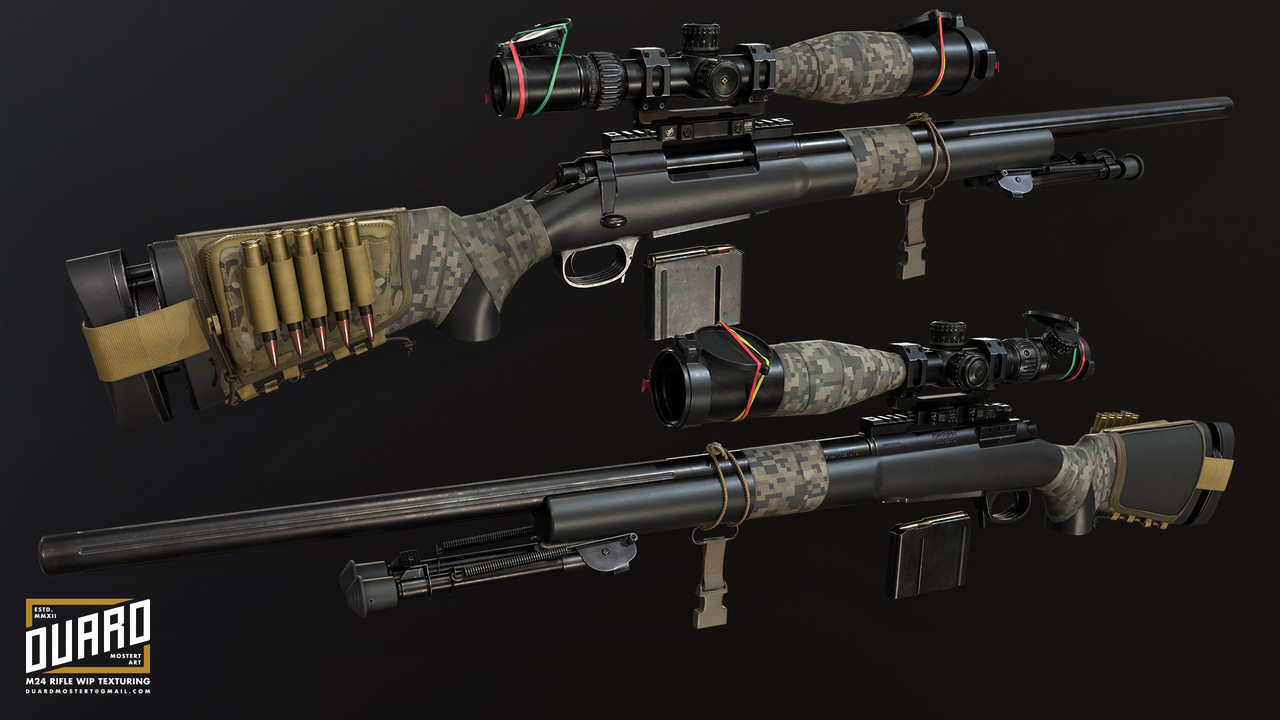
I did all my rendering in Toolbag, get some cool lighting on your asset, show off those nice highlight and your hard work!
You can have a look at the whole project on my Artstation Page:
. . .
I hope that this gives some insight for some of you that have ever wondered what goes into making assets for games.
Till next time!


